
// Article 03 · Uncle Spore
The Method: How We’re Actually Going to Grow Mushrooms
From culture to harvest
- 01Buy LC
- 02Expand LC
- 03Test on Agar
- 04Prepare Popcorn Grain
- 05Inoculate Grain
- 06Colonise Grain
- 07Prepare Substrate
- 08Spawn to Bulk
- 09Fruiting
- 10Harvest
- 11Record Results
In this article
Right. So What Are We Actually Going to Do?
We've established that mushrooms aren't plants.
We've established that the bit we call a mushroom is merely the fungus showing off its reproductive equipment.
And hopefully we've established that buying £700 worth of humidity controllers before learning how to sterilise grain is perhaps putting the cart slightly before the horse.
So now we need a plan.
Because over the next several articles we're going to work through one complete cultivation method from beginning to end.
Not every method.
Not the fastest method.
Not necessarily the cheapest method.
And certainly not the method somebody on a forum will insist is the only method worth using.
It's simply going to be our baseline method.
Something relatively easy to understand, relatively easy to reproduce and, most importantly, something we can gradually modify once we've proved that we can make it work.
The process will look roughly like this:
Culture → Liquid Culture → Agar Test → Grain Spawn → Substrate → Colonisation → Fruiting → Harvest
That's where we're heading.
Now let's look at what each of those stages actually means.
Stage One: Get Some Mushroom Genetics
Everything begins with the fungus itself.
And unless you fancy wandering through a forest hoping you've correctly identified something edible and then attempting to clone it on your kitchen table, the easiest option is to buy your starting genetics.
There are plenty of suppliers selling mushroom cultures and spores.
Use a reputable one.
This is not the ideal moment to save £3 by purchasing a mysterious syringe from somebody called ShroomLord420 who assures you in a Facebook message that it's “definitely clean mate”.
Good genetics don't guarantee a successful grow.
Bad genetics can certainly guarantee a miserable one.
So start with something sensible.
For legal gourmet mushrooms, established specialist culture suppliers are generally the easiest place to begin.
Before we decide what we're buying, though, we need to understand the options.
Spores
Mushrooms reproduce using spores.
If you're buying spores, you'll commonly find them supplied in several forms.
Spore Prints
A spore print is exactly what it sounds like.
A mature mushroom cap releases spores onto a surface beneath it, leaving a visible deposit.
Depending on the species, this might look white, cream, brown, purple-brown, black or various other colours.
Spore prints are useful because they can contain an enormous number of spores and, when stored correctly, can remain useful for quite some time.
But they aren't automatically sterile.
Remember where mushrooms grow.
Forests.
Farms.
Grow rooms.
Logs.
Compost.
Places generally lacking laminar flow cabinets.
So although a spore print contains the genetics we're after, it may also have picked up bacteria, mould spores and other passengers along the way.
This is one reason growers frequently germinate spores on agar rather than putting them straight into a large bag of grain.
More on agar shortly.
Spore Swabs
Another common option is a spore swab.
This is usually a sterile cotton swab that has been rubbed against the spore-producing surface of a mushroom or used to collect spores from a print.
The result is basically spores attached to the end of a swab.
You can then transfer some of those spores onto agar.
Swabs are convenient to store and transport and can be particularly useful with mushrooms that don't conveniently drop heavy spore prints.
Again, though:
spores are not the same thing as a guaranteed clean culture.
That distinction matters.
Spore Syringes
Then we have the spore syringe, sometimes called a spore solution.
This is simply spores suspended in sterile water inside a syringe.
They are convenient.
They're easy to handle.
And they make inoculation look wonderfully straightforward.
Stick needle in thing.
Squirt.
Mushrooms.
Except biology has again refused to cooperate with our desire for simplicity.
A spore syringe contains spores.
Those spores still need to germinate.
Compatible fungal growth then has to establish itself.
And because spores generally originate from a fruiting body that wasn't produced inside a completely sterile environment, contamination can still be present.
For that reason, experienced cultivators often put spores onto agar first.
Agar gives us somewhere to see what's happening before committing an entire bag of grain to whatever happens to be inside the syringe.
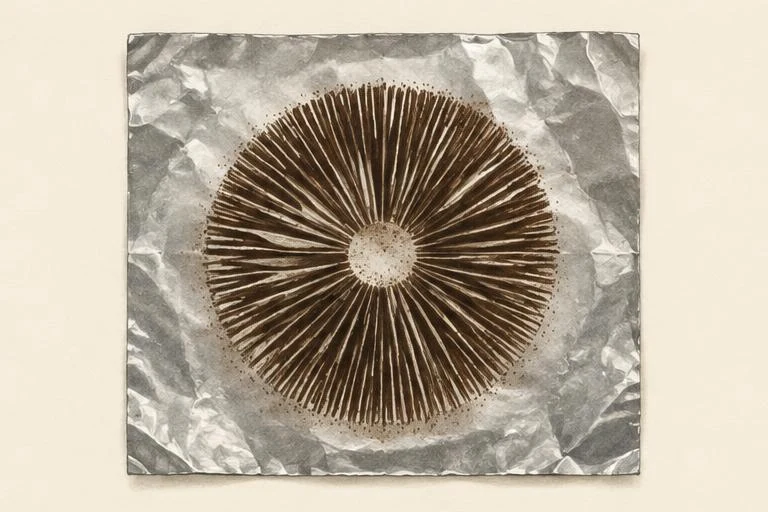
Spore Print
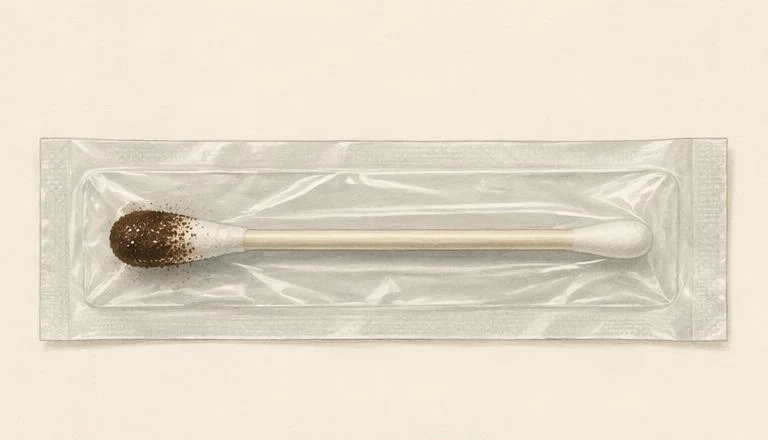
Spore Swab
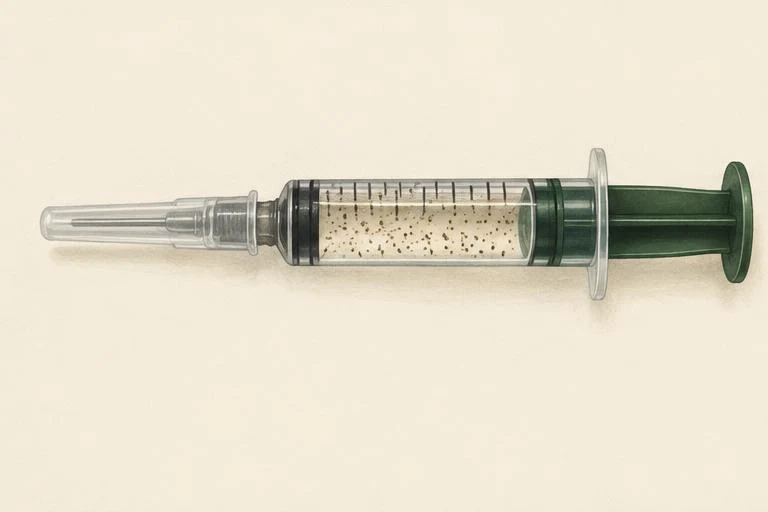
Spore Syringe
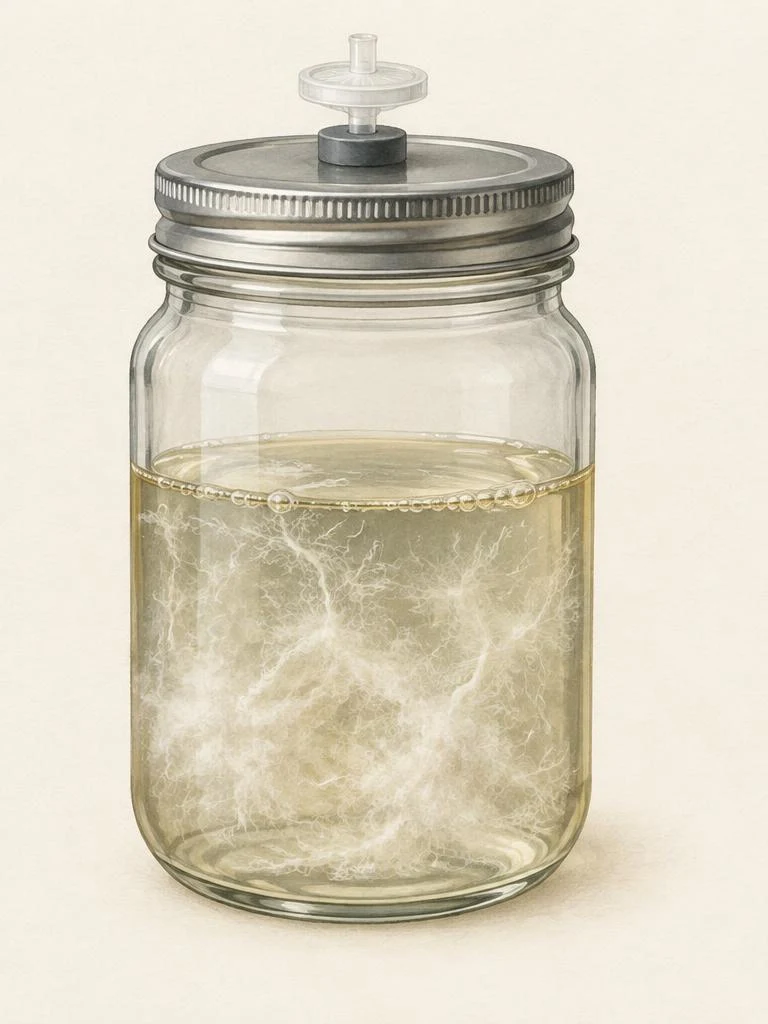
Liquid Culture
Spores Are Genetics, Not a Finished Culture
This is an important distinction.
When we grow from spores, we're starting a new genetic combination.
Think children rather than clones.
If two parents have ten children, you don't expect all ten children to be identical.
Some might be taller.
Some shorter.
Some healthier.
Some faster.
One will eventually become very interested in cryptocurrency and stop being invited to Christmas dinner.
Genetics vary.
Mushroom cultures aren't fundamentally different in this respect.
Starting from spores introduces genetic diversity.
That's fantastic when you're breeding, selecting cultures or experimenting.
For a beginner who simply wants a repeatable process, however, that variability isn't always particularly helpful.
Which brings us to what we're going to use.
Liquid Culture
For this guide we're going to begin with liquid culture, usually shortened to LC.
Liquid culture contains living mushroom mycelium growing in a nutritious liquid solution.
Rather than waiting for spores to germinate and compatible fungal growth to establish itself, we're starting with mycelium that's already alive and growing.
That has a few useful advantages for our beginner method.
It's generally faster to establish.
We can work with a known cultivated strain.
And once we've verified that our culture is clean, we can use it to inoculate our grain.
But there is a catch.
Liquid culture is wonderfully convenient.
It's also wonderfully good at hiding contamination.
A jar of clear-looking liquid with attractive strands of mycelium floating around in it can look absolutely magnificent.
It can still contain bacteria.
You cannot reliably determine that an LC is clean simply by staring at it with the intensity of a disappointed schoolteacher.
That's why we're going to test it.
We're Also Going to Make More of It
You could simply buy a fresh syringe of liquid culture every time you wanted to grow mushrooms.
You could also buy a new kettle every time you wanted a cup of tea.
Technically possible.
Financially questionable.
One of the useful things about purchasing a good culture is that we can use a small amount to create more culture.
We'll prepare our own sterile liquid culture medium and inoculate it using some of the culture we've bought.
The mycelium grows through the nutrient solution.
We have now expanded our culture.
From that point, a relatively small purchased culture can potentially provide enough inoculant for numerous future grows.
We're not trying to create an immortal jar that's passed down through seventeen generations of the family.
Cultures age.
Genetic stability matters.
Contamination risk accumulates.
And repeatedly expanding cultures indefinitely isn't good practice.
We'll discuss concepts such as culture age, transfers and senescence later.
For now, the principle is simple:
Buy a good culture.
Keep the original relatively protected.
Expand a sensible working culture from it.
Then test what you're planning to use.
Stage Two: Test It Before We Trust It
This is where agar enters the picture.
If you've never used agar before, it can sound considerably more scientific than it actually is.
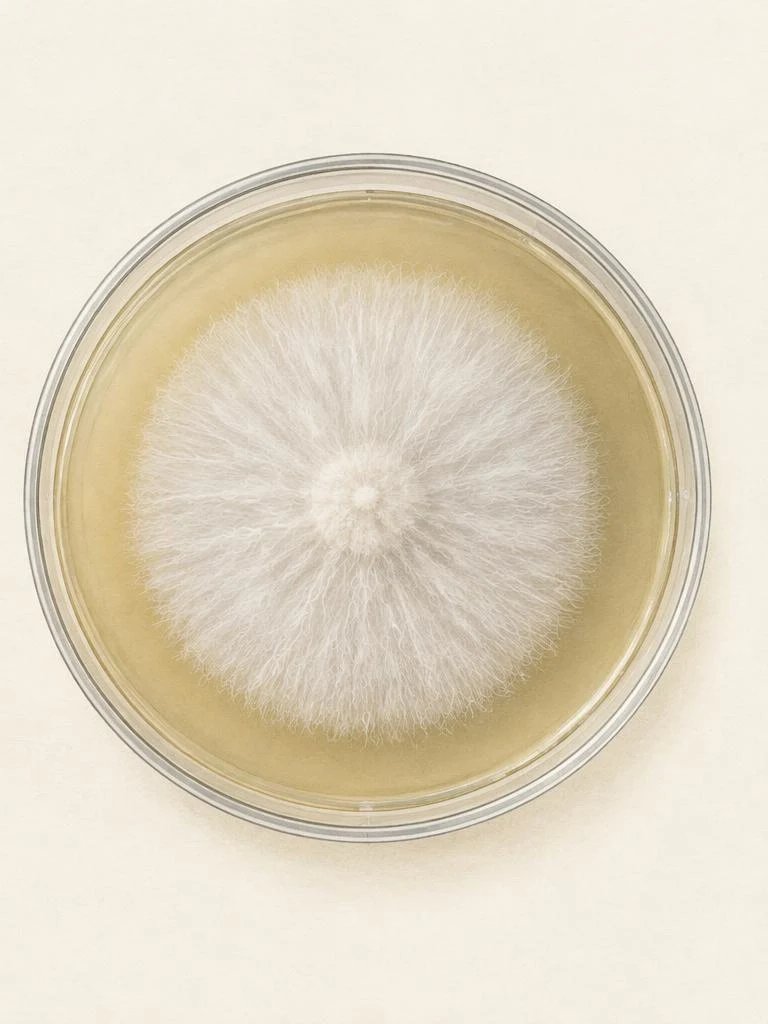
We're essentially creating a firm nutrient medium in a sterile container.
A tiny amount of our culture is placed onto that medium.
Then we watch what grows.
Healthy mushroom mycelium should grow outward across the agar.
If bacteria or mould are also present, they may reveal themselves there too.
It's far better to discover contamination on a small agar plate than after you've inoculated three kilograms of grain.
Consider agar the fungal equivalent of:
“Let's check this before we commit.”
A philosophy that could have prevented quite a few marriages.
LC grows it
Agar helps us check it
We'll Be Making No-Pour Agar
There are numerous ways of preparing agar.
We're going to begin with a no-pour agar method.
Traditionally, agar is sterilised in a bottle and then poured into sterile Petri dishes under very clean conditions.
That works extremely well.
It also adds another transfer operation at exactly the point where a beginner is trying not to wave airborne contamination into their work.
With no-pour agar, the agar mixture goes into small heat-resistant containers before sterilisation.
The containers and agar are then sterilised together.
Once cooled, they're essentially ready to use.
No sterile pouring step.
No stack of Petri dishes threatening to slide across the table.
One fewer opportunity to discover how much mould apparently lives in your house.
Again:
Is no-pour agar how every professional laboratory works?
No.
Is it a very useful way to introduce beginners to agar with relatively little equipment?
Yes.
That's what we're interested in.
We'll cover the actual preparation, recipes and sterile technique in its own article.
For now you just need to understand its role:
LC tells us what we hope we've got.
Agar helps us check what we've actually got.
Stage Three: Grain Spawn
Once we're happy with our culture, we need to dramatically increase the amount of mycelium.
That's where grain comes in.
Sterilised cereal grains make an excellent food source for many cultivated fungi.
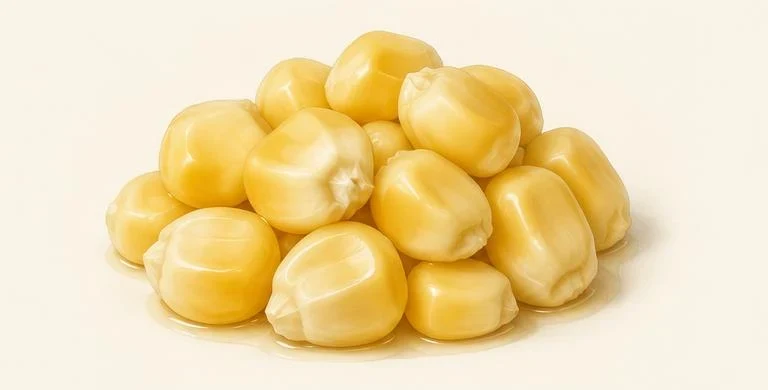
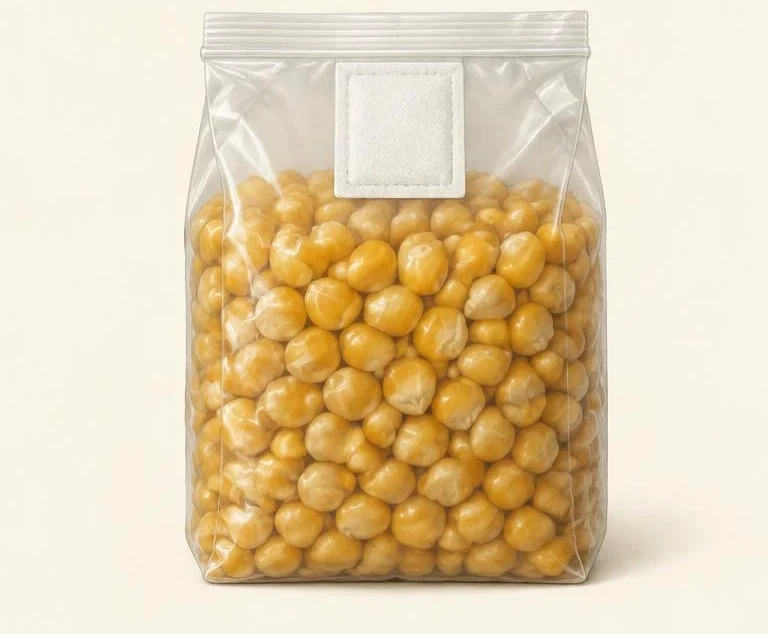
We hydrate the grain.
Load it into filter patch bags.
Sterilise it.
Let it cool.
Inoculate it with our tested liquid culture.
Then wait.
The mycelium begins growing from our inoculation points and gradually colonises the grain.
Eventually we'll have a bag containing hundreds or thousands of individual grains covered in mushroom mycelium.
That is grain spawn.
Each colonised grain effectively becomes another inoculation point when we mix the spawn into our bulk substrate.
And for this beginner series, we're going to use...
popcorn.
Why Popcorn?
Here comes another opinion.
Ask ten mushroom growers what grain you should use and you'll receive approximately fourteen answers.
Rye.
Millet.
Wheat.
Oats.
Sorghum.
Bird seed.
Corn.
Different grains have different advantages.
Some provide far more inoculation points per kilogram.
Some are considerably cheaper.
Some are easier to source commercially in bulk.
Some colonise more efficiently.
Some are widely preferred by commercial cultivators.
We're using popcorn.
Not because it's the fastest.
It isn't necessarily.
Not because it's the cheapest.
It often isn't.
Not because it's the most nutritious.
That's not the argument either.
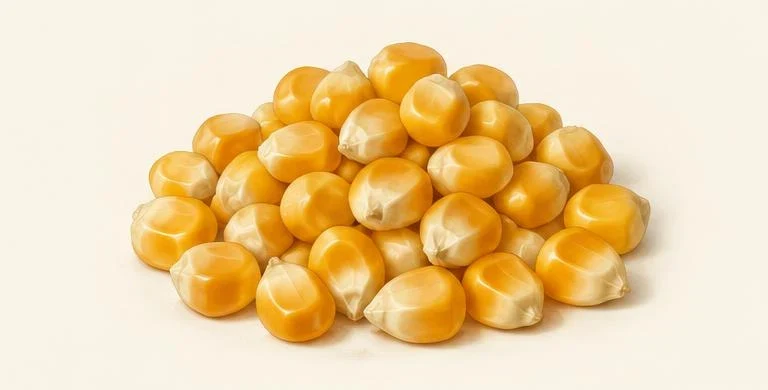
We're using it because popcorn kernels are relatively large, robust and—when prepared properly—fairly forgiving when you're learning to get grain moisture right.
And moisture is one of the first things beginners manage to get spectacularly wrong.
Too dry and your mycelium struggles.
Too wet and you create sticky, burst grain with excess free moisture.
Bacteria send a thank-you card.
With popcorn, the physical change during hydration is relatively easy to observe.
The kernels are large.
They're easy to handle.
They're easy to inspect.
And once you've learned what properly hydrated grain should look and feel like, transferring that understanding to rye, millet, wheat or oats becomes much easier.
We're learning a process.
Not pledging allegiance to maize.
Later, you can test other grains yourself.
Perhaps you'll discover that millet performs considerably better for your setup.
Excellent.
Record it in Hyphae Fidelity and prove it.
That's considerably more interesting than somebody simply telling you millet is better.
Dry popcorn kernels
Hydrated popcorn
Prepared popcorn in a filter-patch bag
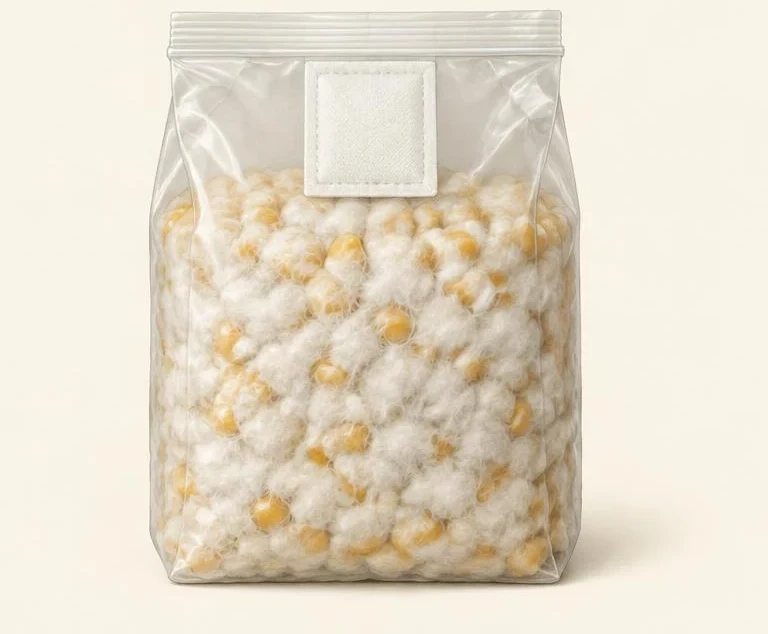
Fully colonised grain spawn
Stage Four: Prepare Our Substrate
Once our grain is fully colonised, we've produced spawn.
Now we need to give that mycelium considerably more material to grow through.
That's our bulk substrate.
Exactly what substrate we use depends on the mushroom species.
Wood-loving mushrooms commonly perform well on hardwood-based substrates.
Other species can grow happily on straw or other agricultural materials.
Some substrates need pasteurising.
Some nutrient-rich substrates need sterilising.
Some benefit from supplementation.
And—because people apparently cannot leave anything alone—there are approximately seven million recipes online.
We'll keep ours simple.
The objective is not to produce the theoretically greatest mushroom yield ever witnessed by mankind.
The objective is to create a substrate we can prepare consistently.
We'll weigh our ingredients.
Control our moisture.
Prepare the substrate correctly.
Add a known quantity of grain spawn.
Mix it thoroughly.
Seal the bag.
Then leave the mycelium to colonise again.
You'll notice a recurring theme here.
Do something correctly.
Leave it alone.
Very advanced stuff.
Stage Five: Spawn to Bulk
Taking colonised grain and mixing it into our prepared substrate is commonly referred to as spawning to bulk.
This is the point where our relatively small amount of grain spawn is distributed through a much larger quantity of substrate.
Remember why all those individual grains are useful?
Each one becomes a starting point.
Instead of the fungus trying to colonise the entire substrate from one little patch, we distribute colonised grains throughout it.
The mycelium grows outward from all those points.
Gradually the substrate turns white with mycelial growth.
Hopefully white with the correct mycelium.
Not green.
Green will receive its own article.
Green always receives its own article eventually.
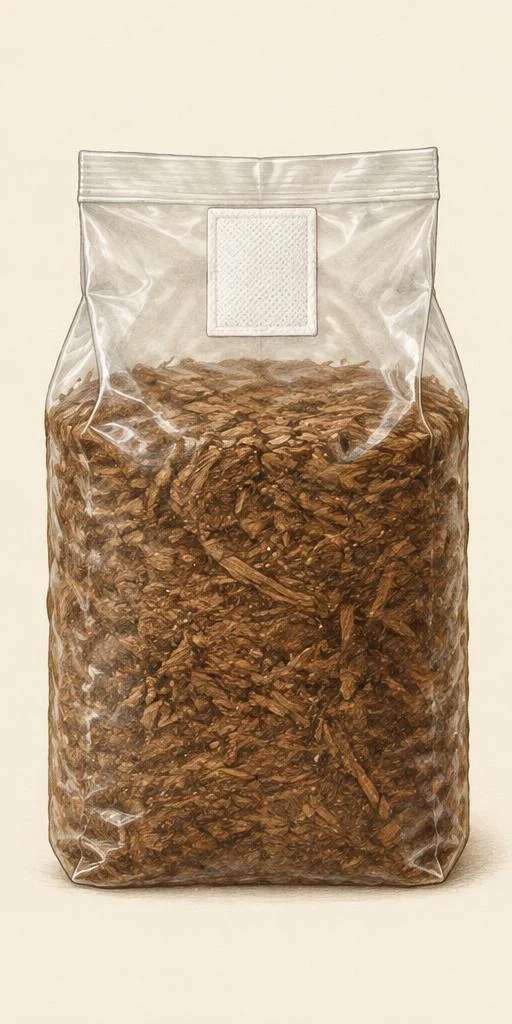
Prepared substrate
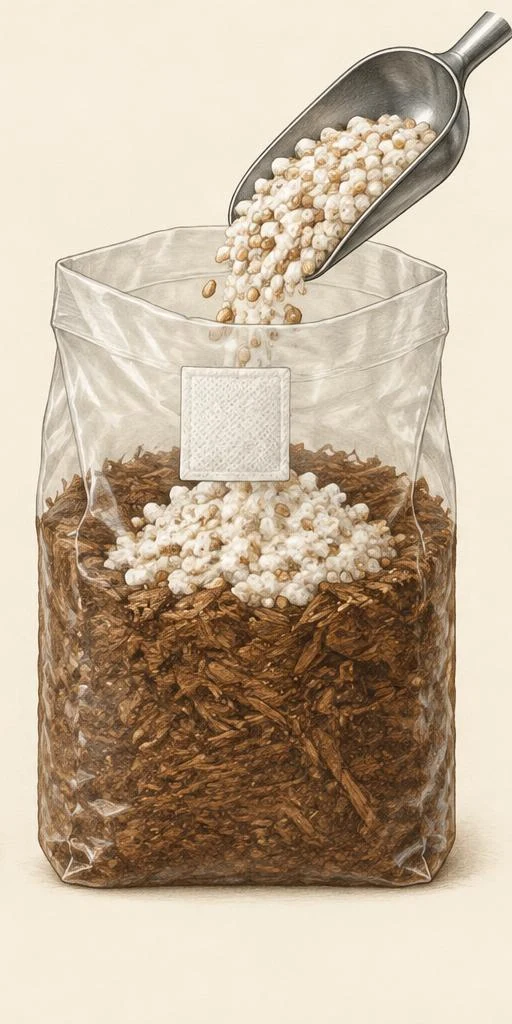
Add colonised grain spawn
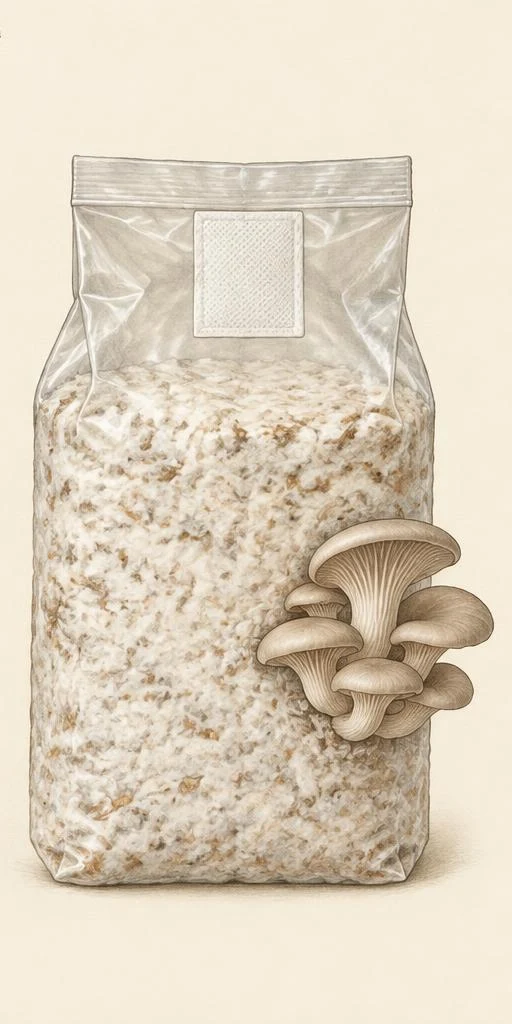
Colonised bulk → fruiting
Stage Six: Fruiting
Once the substrate is properly colonised, we can start thinking about fruiting.
This is where the environment becomes particularly important.
Depending on our mushroom species, we'll manage things such as:
- fresh air;
- humidity;
- temperature;
- light;
- surface moisture;
- and the physical way the mushrooms are allowed to emerge from the bag.
This is also the point at which everyone becomes obsessed with fruiting chambers again.
By this stage, that's allowed.
You've earned the right to buy a humidifier.
Possibly.
We'll see.
But we'll still start with the simplest environment reasonably capable of producing the mushroom we're trying to grow.
Pins form.
Pins become mushrooms.
Mushrooms become larger mushrooms.
You take several hundred photographs of them.
Your family begins receiving unsolicited mushroom updates.
And eventually...
we harvest.
Stage Seven: Record What Happened
This final stage is the part most beginner guides leave out.
We're going to record the grow.
Not just whether mushrooms appeared.
We're interested in the process.
What culture did we use?
Which expansion?
When was the grain inoculated?
How long did colonisation take?
What grain recipe did we use?
How much spawn?
What substrate?
What moisture level?
What temperature?
When did fruiting begin?
What did we harvest?
What was the yield?
Did anything contaminate?
That's what the Hyphae Fidelity grow tracker is there for.
Your first grow gives you a result.
Your first several recorded grows give you data.
And once we've established our baseline, we can start experimenting.
Change the grain.
Change the spawn ratio.
Change the substrate.
Try supplementation.
Compare different cultures.
Test temperatures.
But change things deliberately.
Record them.
Then see whether they actually improved anything.
Hyphae Fidelity
- Culture
- Field to record
- Grain
- Field to record
- Substrate
- Field to record
- Dates
- Field to record
- Colonisation Time
- Field to record
- Yield
- Field to record
- Contamination
- Field to record
Our Beginner Method in One Page
So this is where the rest of the series is going.
1. Buy a reputable liquid culture
We're going to understand spores, but we won't use spores as the starting point for our baseline grow.
2. Expand the liquid culture
We'll make a simple LC solution and use a small amount of our purchased culture to produce a working supply.
3. Test the culture on agar
We'll use beginner-friendly no-pour agar to check our culture before committing it to grain.
4. Prepare popcorn grain
We'll learn correct hydration, bag preparation and sterilisation.
5. Inoculate the grain
Our tested liquid culture goes into the sterile grain.
6. Colonise the grain
Then, thrillingly...
we wait.
7. Prepare our substrate
The exact recipe will depend on the species we're growing.
8. Spawn to bulk
Colonised grain gets mixed through our prepared substrate.
9. Colonise again
More waiting.
You may notice mushroom cultivation contains rather a lot of waiting.
10. Introduce fruiting conditions
Fresh air, humidity, appropriate temperature, light and moisture.
11. Harvest
Finally.
Actual mushrooms.
12. Record everything
Then do it again.
Only this time...
change something.
The Point of All This
What I'm giving you here isn't a magic recipe.
It's more useful than that.
It's a controlled baseline.
Culture.
Test.
Grain.
Substrate.
Fruit.
Record.
Once you can repeat that successfully, mushroom cultivation stops being a collection of mysterious internet recipes.
It becomes a process.
And once you understand the process, you can start improving it.
Next we'll start at the beginning properly:
Spores, Liquid Culture and Agar — where mushroom genetics actually come from, why we're using LC, and how we're going to make sure what we've bought isn't a syringe full of disappointment.
While the kettle’s on
- Equipment & Shopping List
- Equipment checklist
- Choose a gourmet species
- Match your species to its substrate
- The detailed grain spawn guide
Keep it clean. Keep it simple. Keep it consistent. Record your baseline, then compare what changes.
Open the grow tracker